简介
phpipam是一个开源Web IP地址管理应用程序(IPAM)。其目标是提供轻便,现代且有用的IP地址管理。它是基于PHP的应用程序,具有MySQL数据库后端,使用jQuery库,ajax和HTML5 / CSS3功能。
安装前环境配置
配置主机文件
1 | vi /etc/hosts |
安装依赖模块 Web server、Database 组件
1 | yum install httpd mariadb-server php php-cli php-gd php-common php-ldap php-pdo php-pear php-snmp php-xml php-mysql php-mbstring git -y |
设置时区
1 | vi /etc/php.ini |
启动 Apache Web Server 并设置开机启动
1 | systemctl start httpd |
启动 MySQL (MariaDB) database server
1 | systemctl start mariadb |
配置 Apache Web Server
1 | /etc/httpd/conf/httpd.conf |
初始化数据库设置
1 | mysql_secure_installation |
安装 phpIPAM
从 git 下载 phpIPAM 文件
1 | cd /var/www/html/ |
让 apache 用户有权限访问 phpipam
1 | chown apache:apache -R /var/www/html/ |
然后配置数据库链接要做到这一点,我们首先需要将示例配置文件复制到phpipam使用的config.php
1 | cp /var/www/html/phpipam/config.dist.php /var/www/html/phpipam/config.dist.php.bak |
1 | vim /var/www//html/phpipam/config.php |
重启 http 服务
1 | systemctl restart httpd |
访问
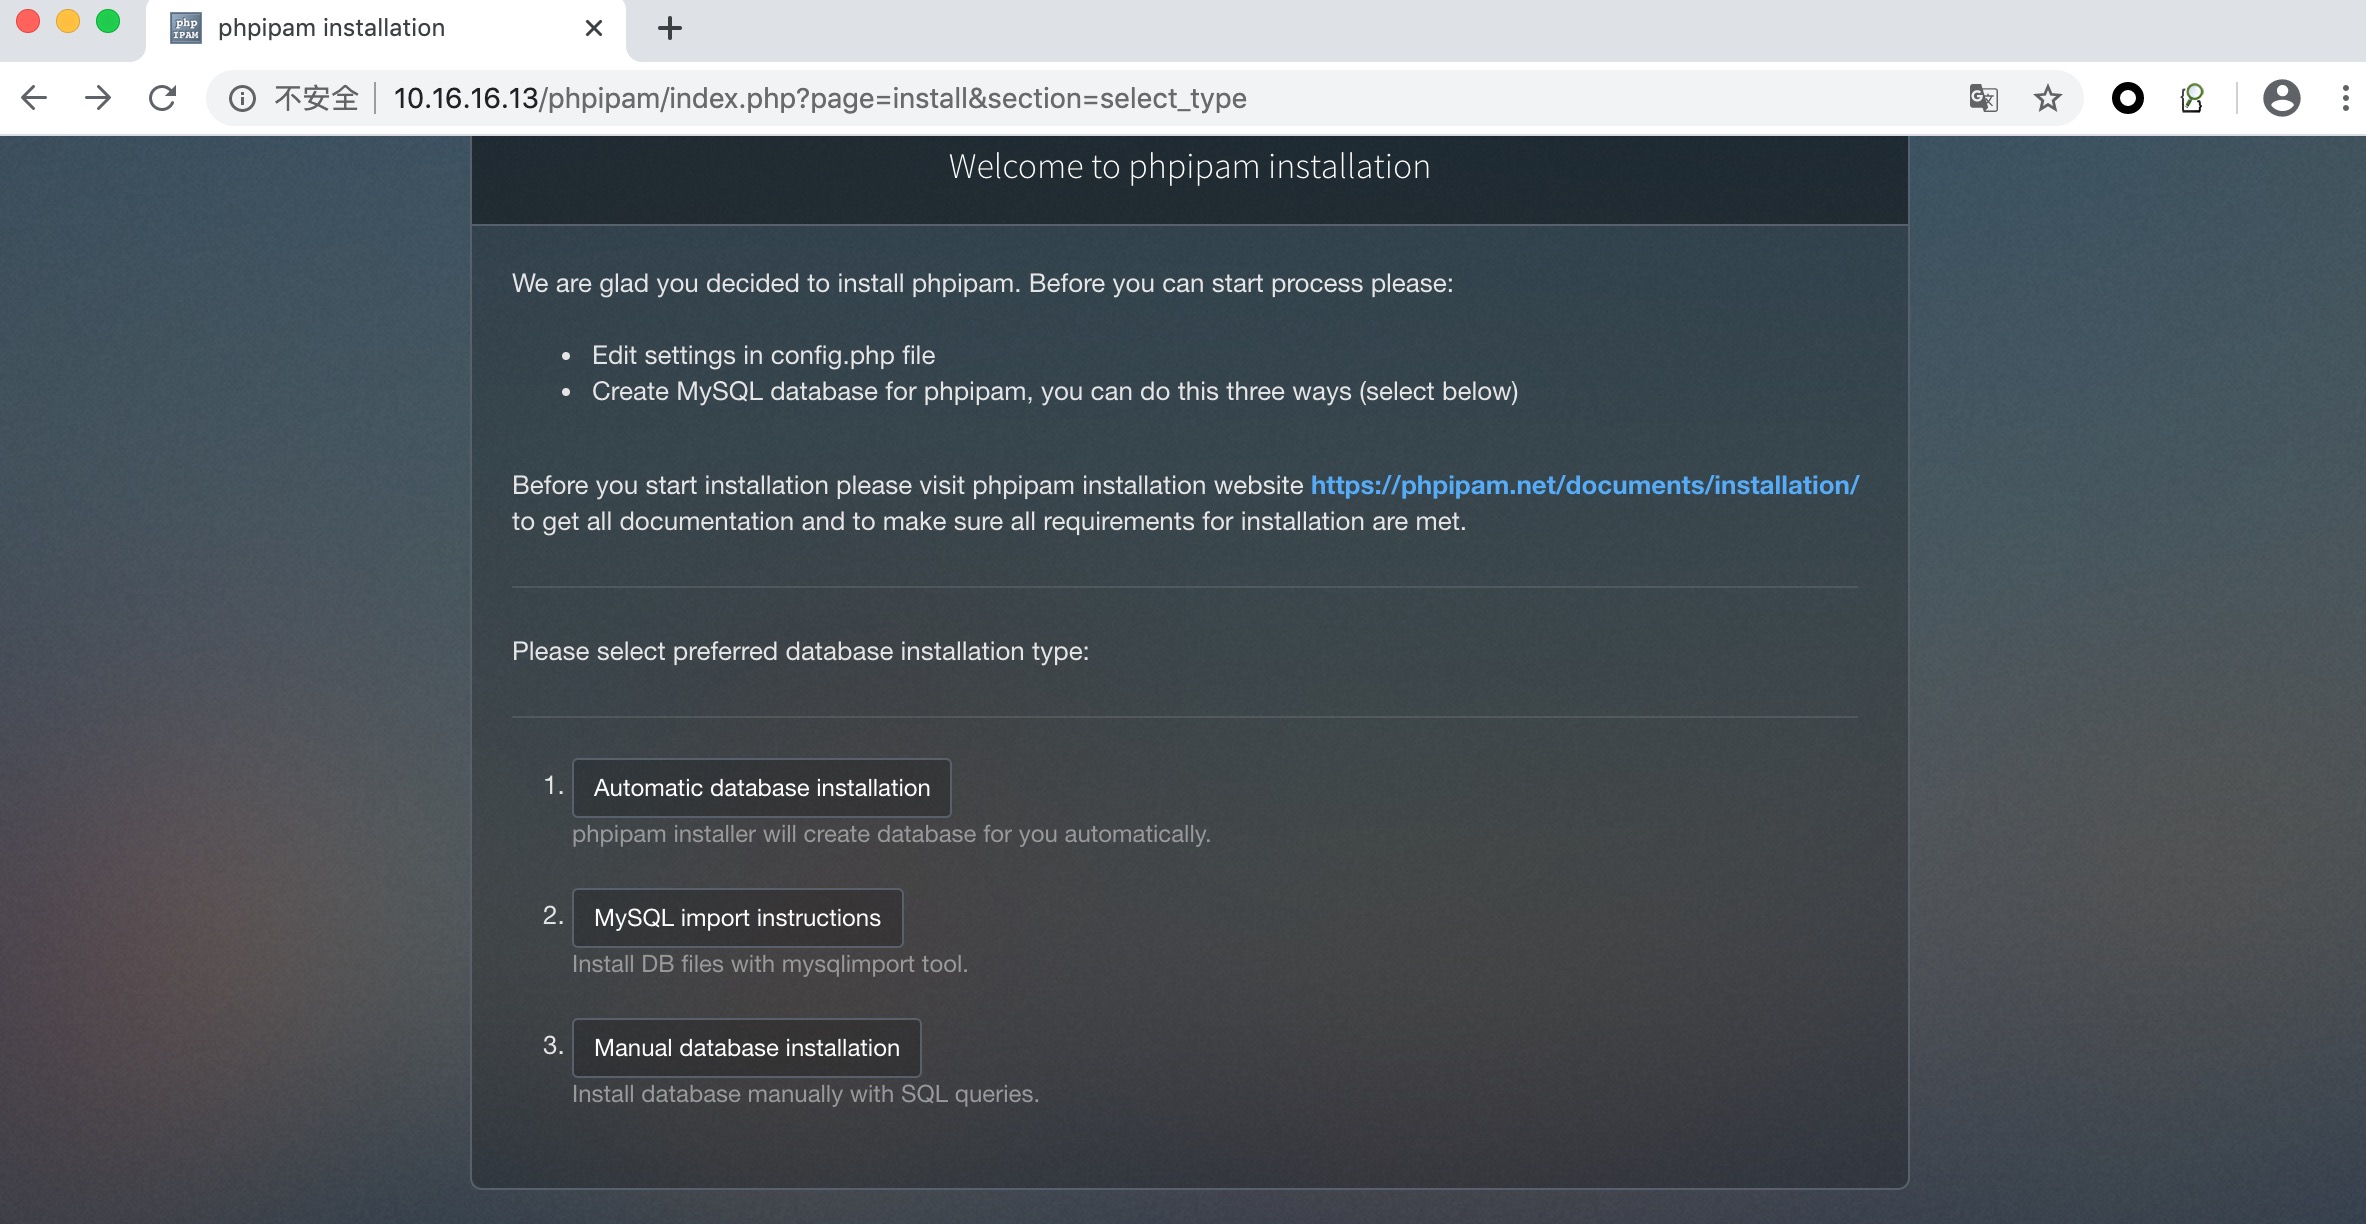
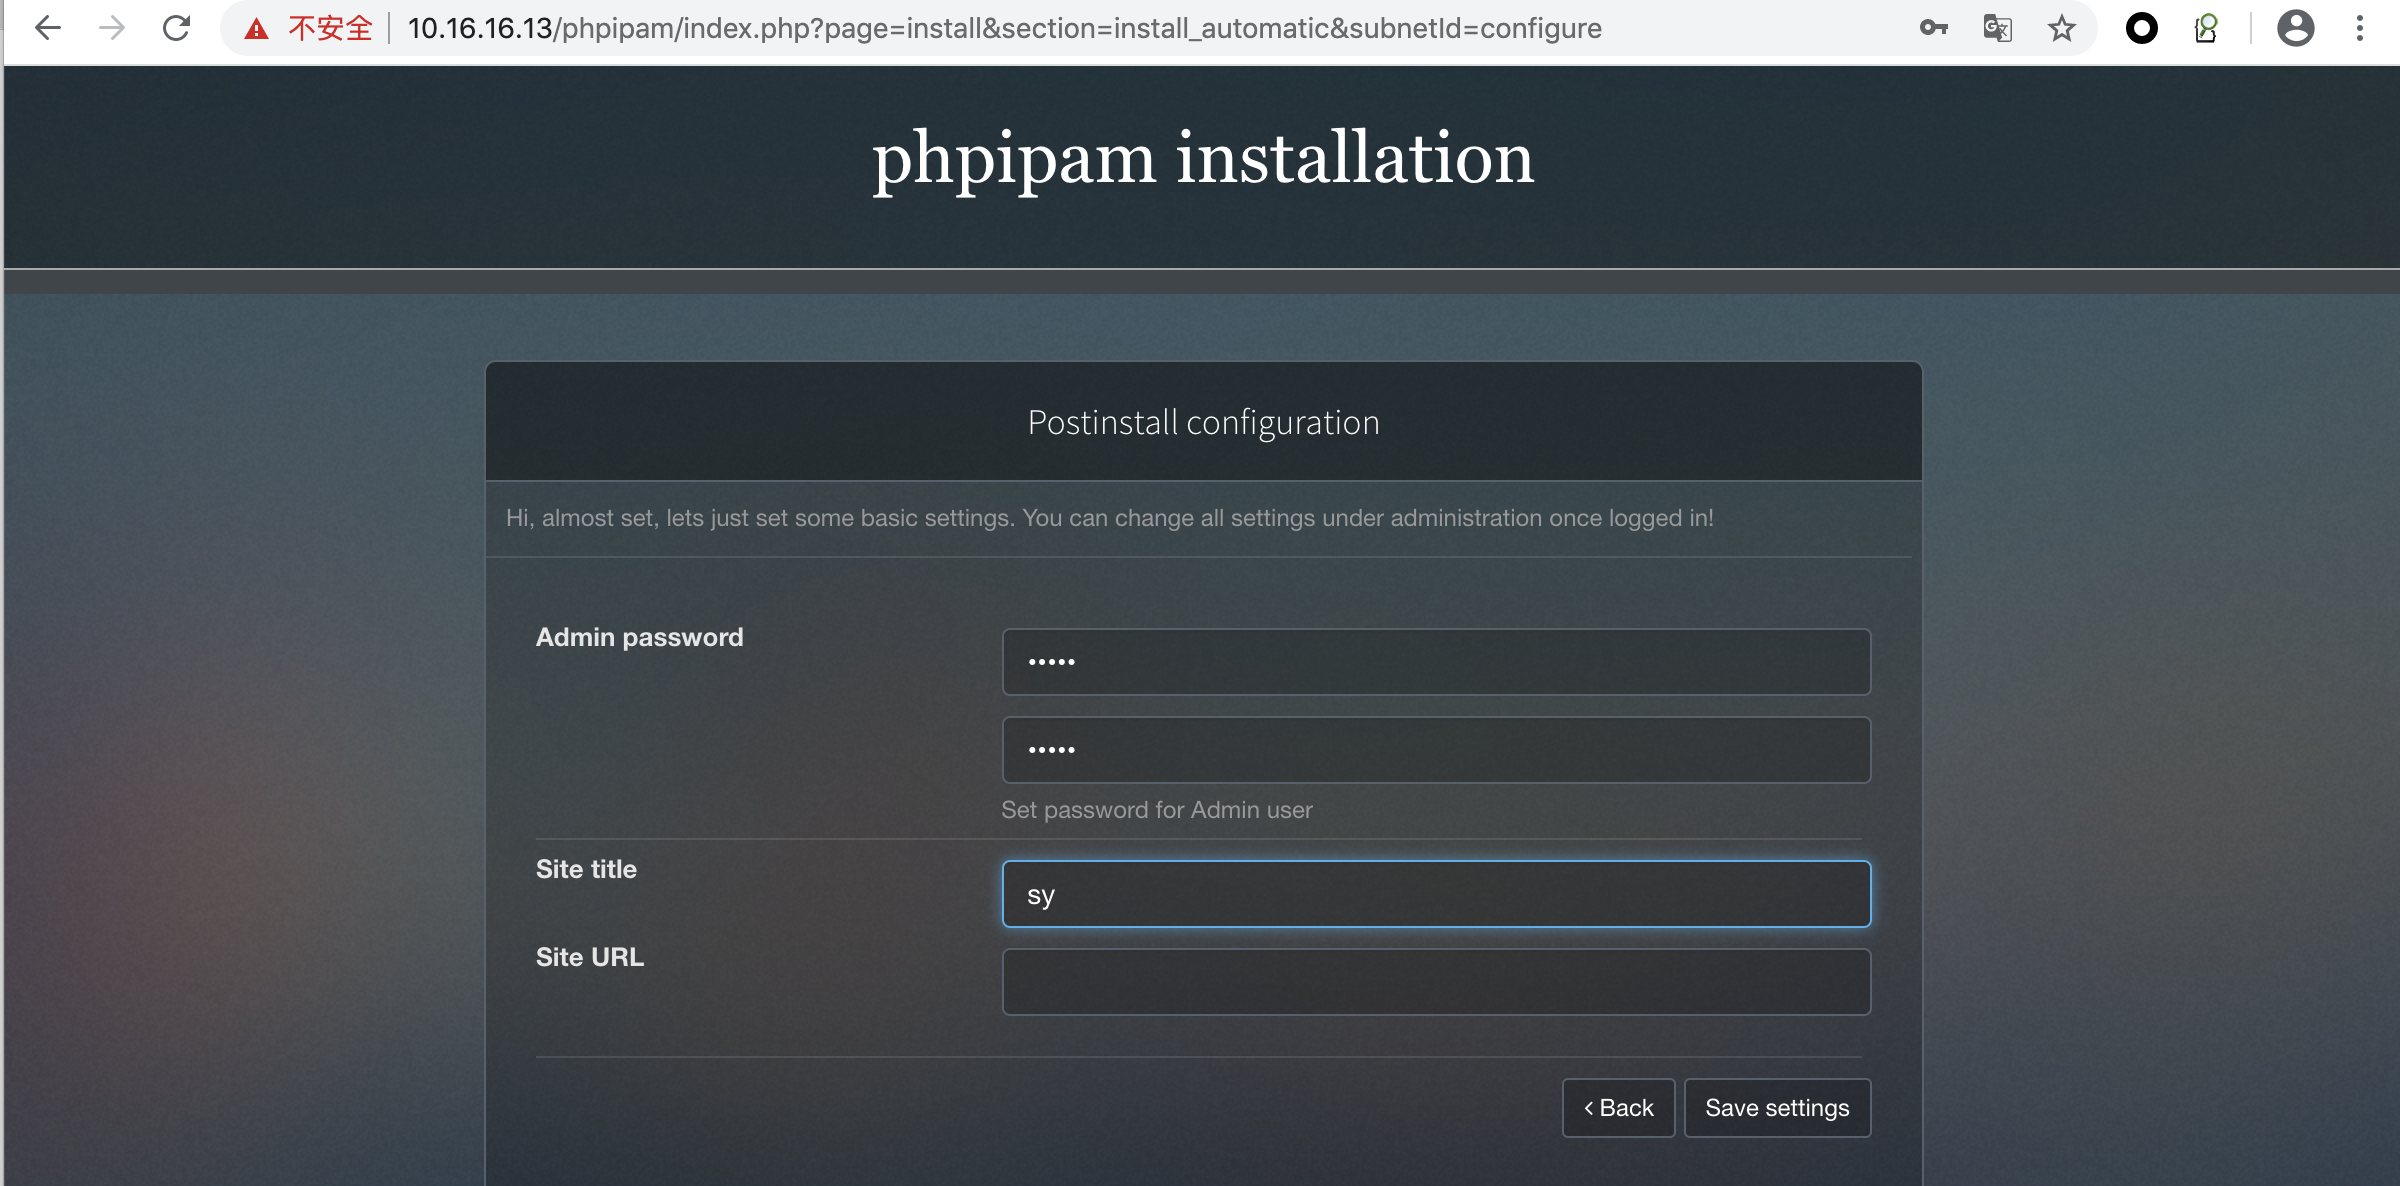
自动安装并设置密码
效果
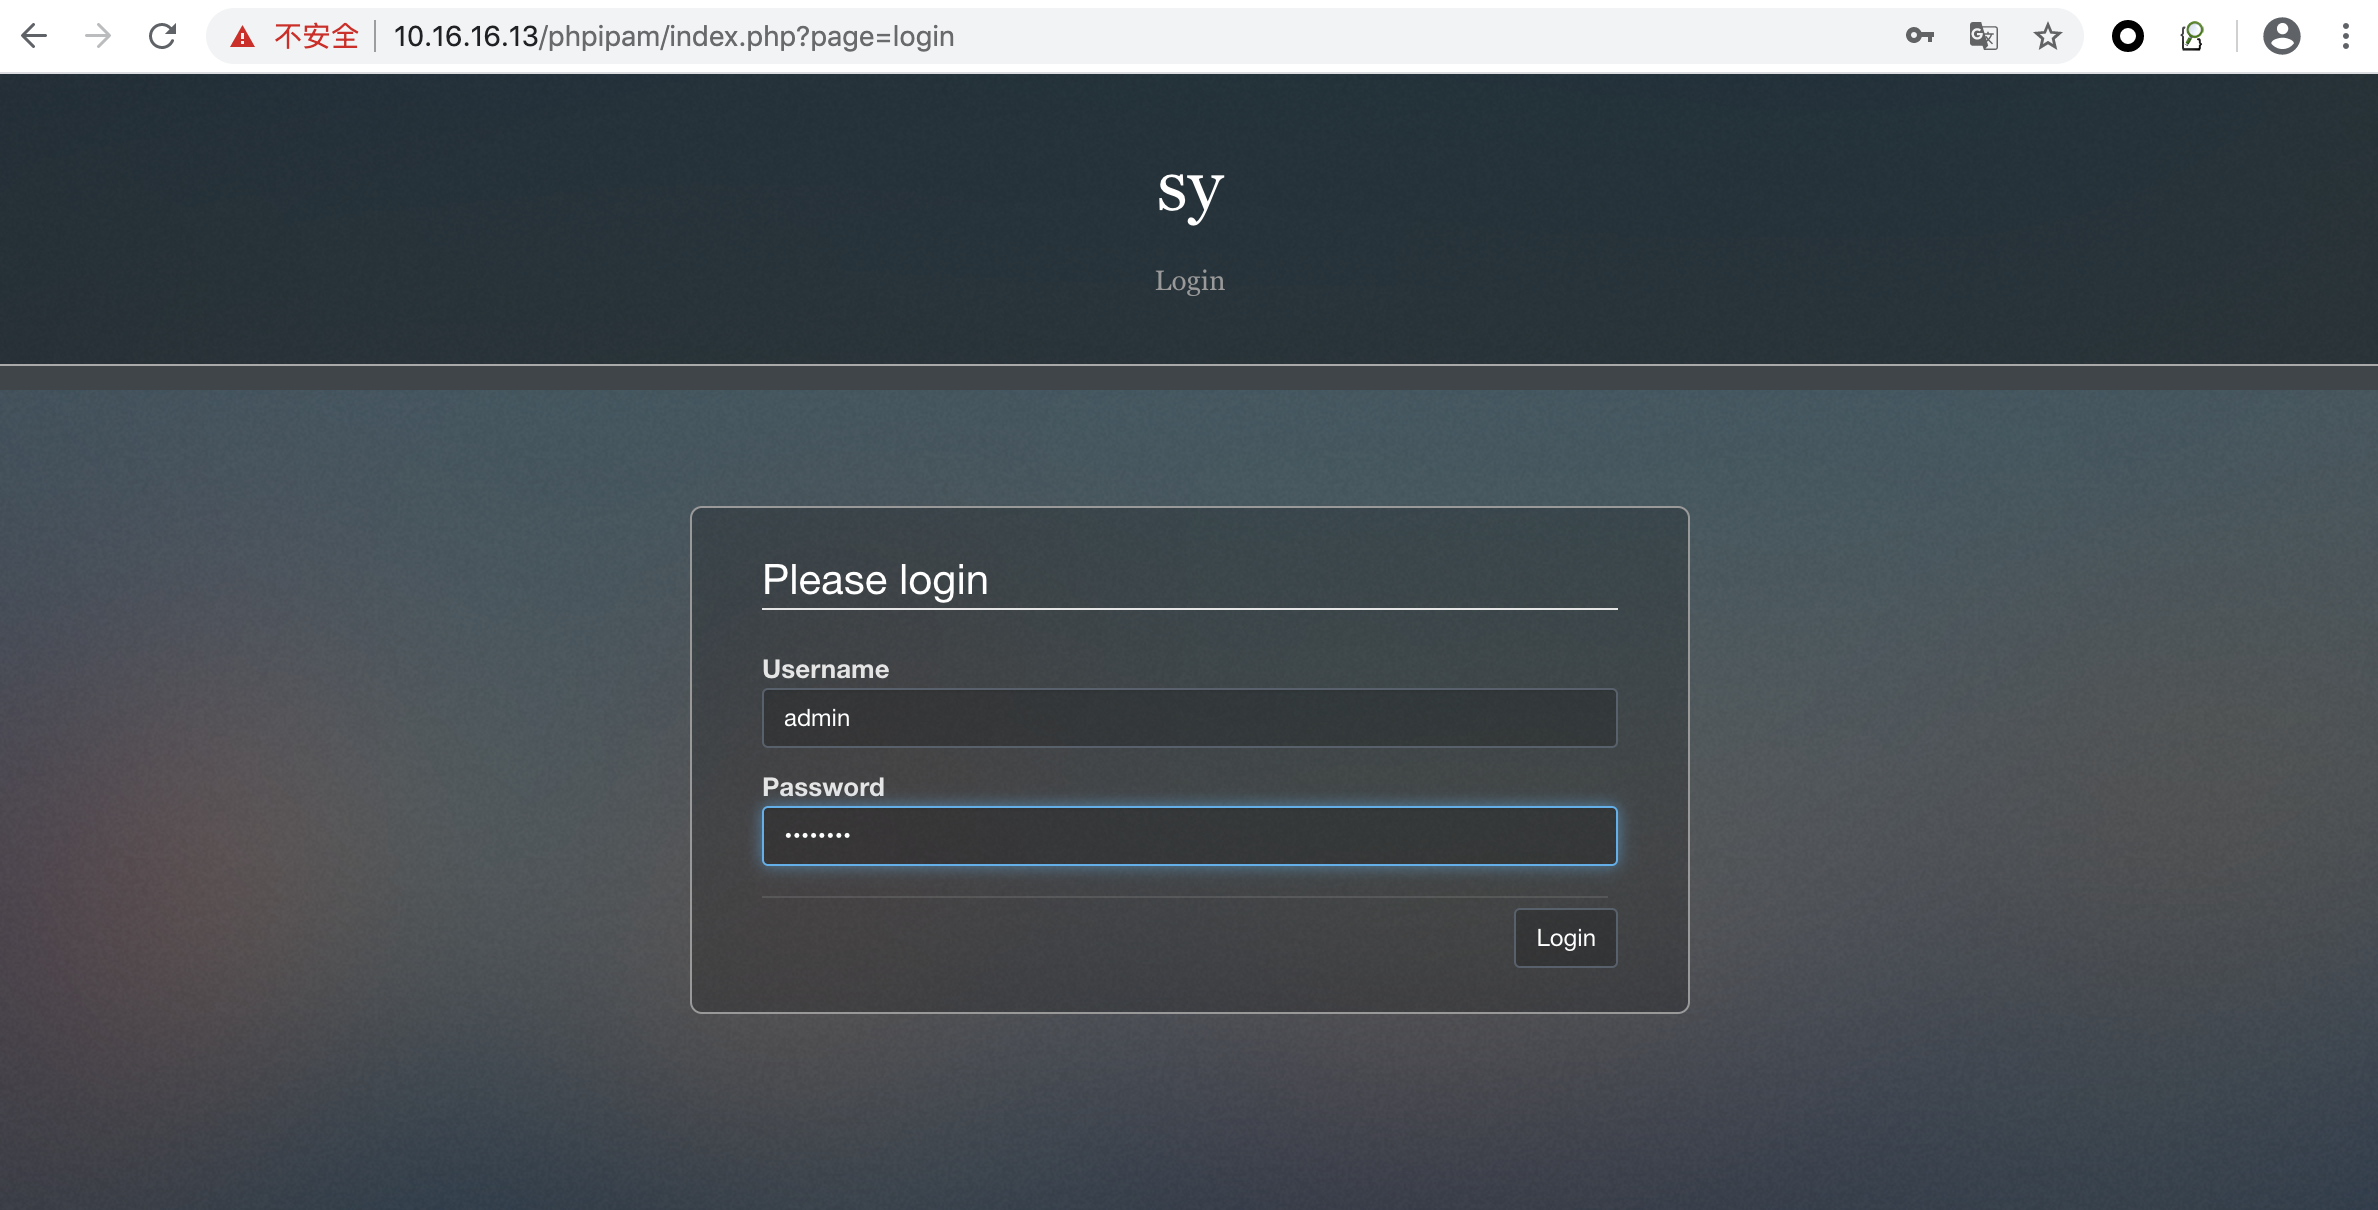
登录
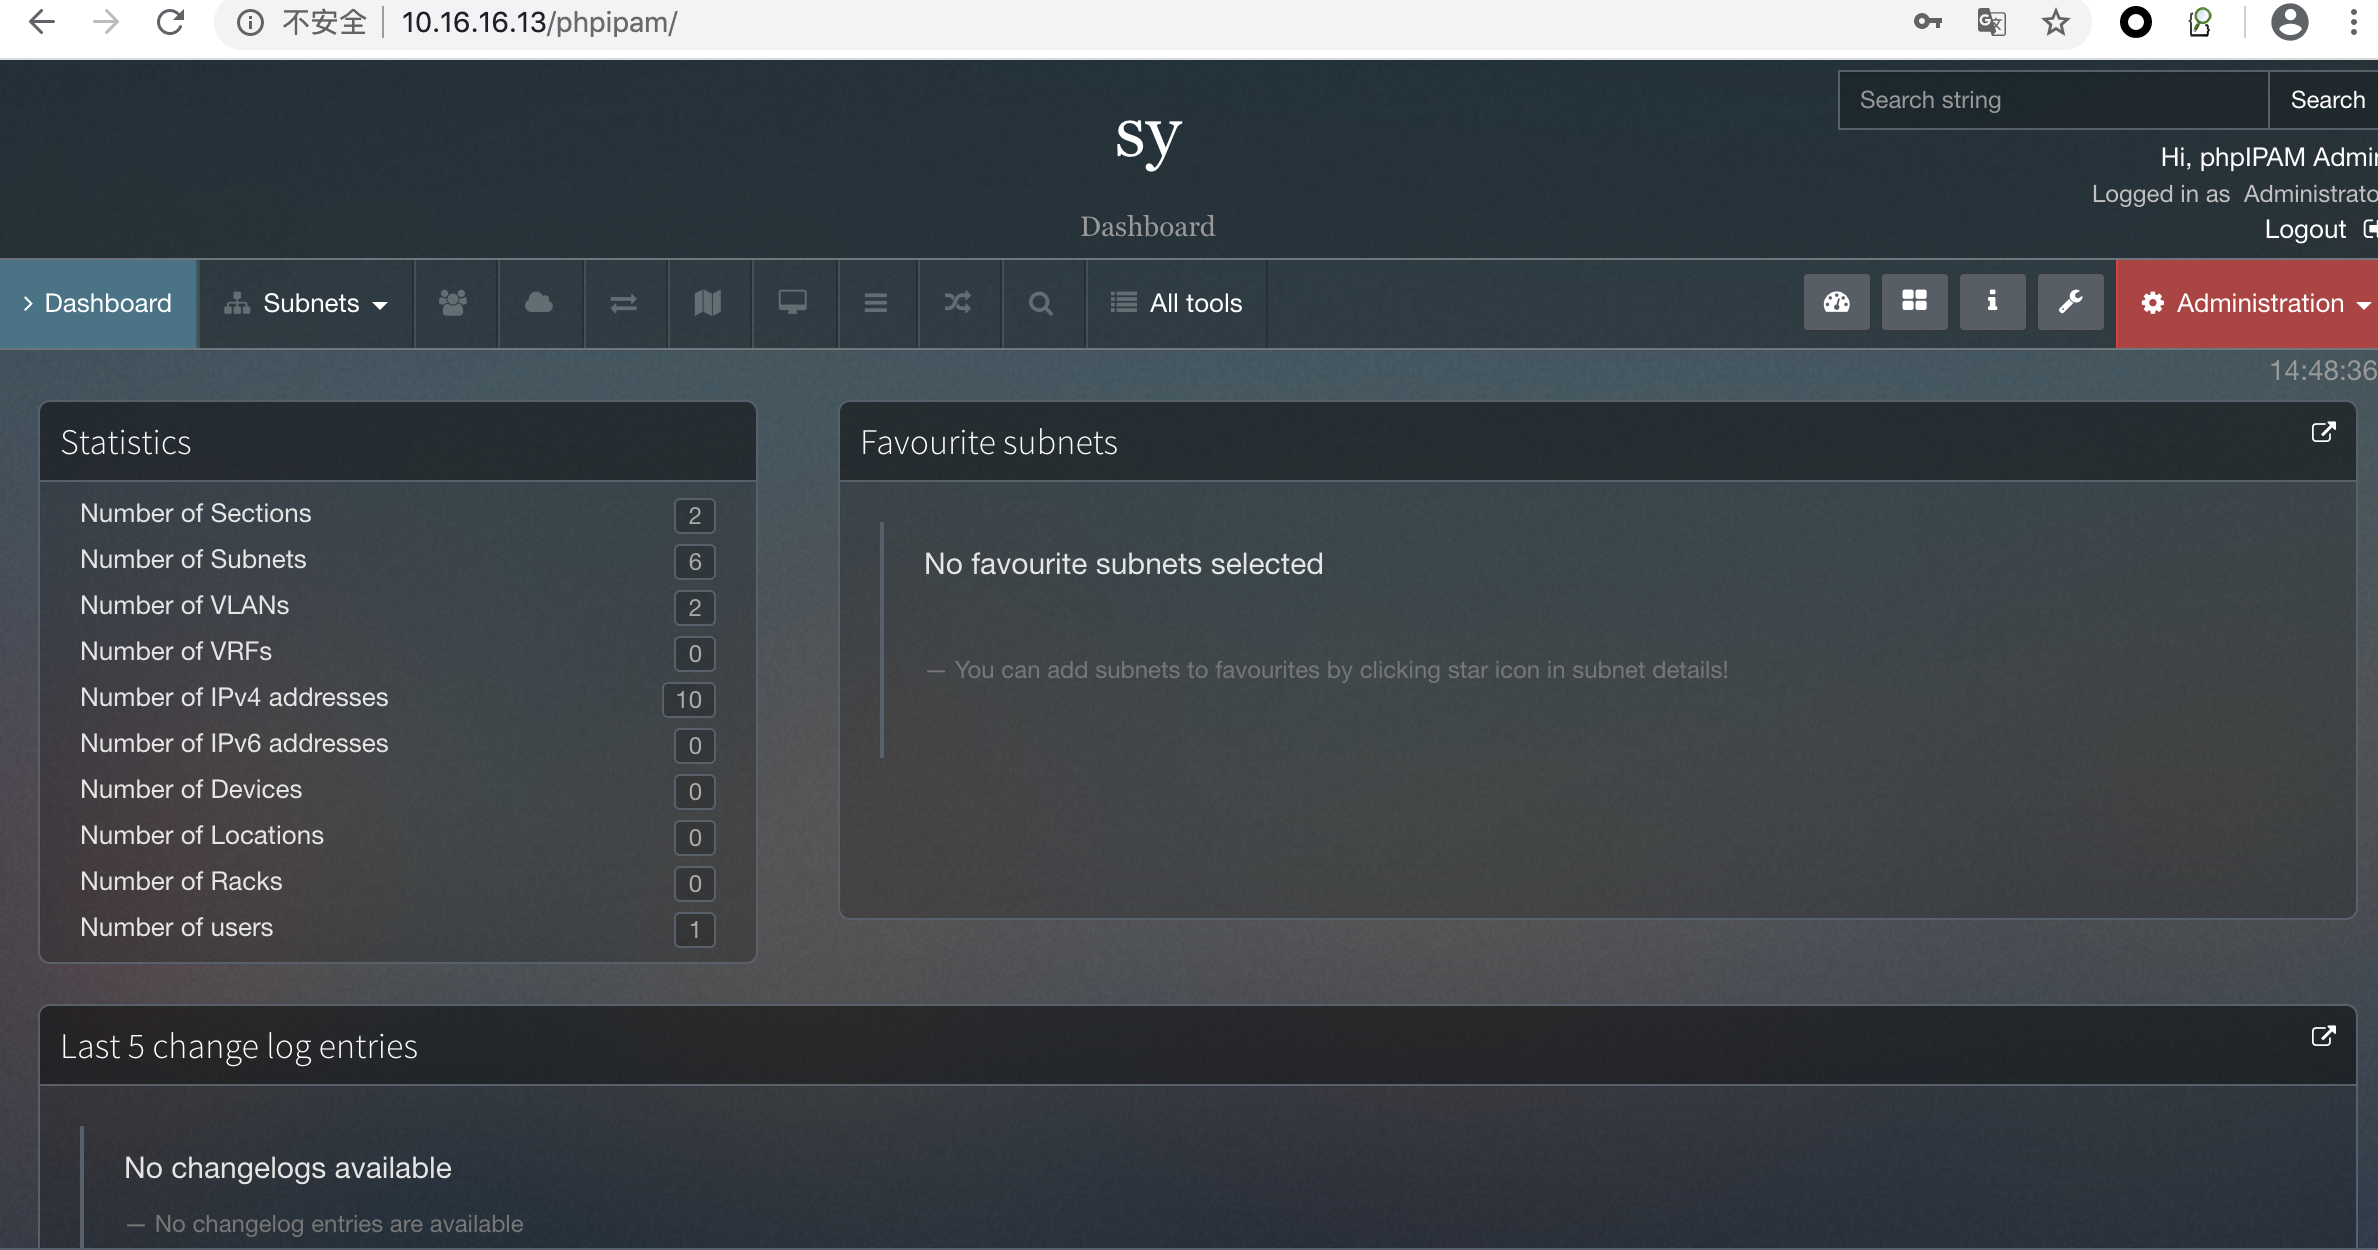
最终界面
简单功能说明
1 | PHPIPAM Settings:设置PHPIPAM系统本身的一些配置,站点名称、语言、配色方案、一些功能模块的开关。 |
参考链接
1 | https://phpipam.net/news/phpipam-installation-on-centos-7/ |
—本文结束感谢您的阅读。微信扫描二维码,关注我的公众号—